How to Make a Landing Page: A Step-by-Step Guide for 2026
A six-step walk-through for making a landing page in Framer, Webflow or code, from choosing the one action it asks for to publishing and measuring it.
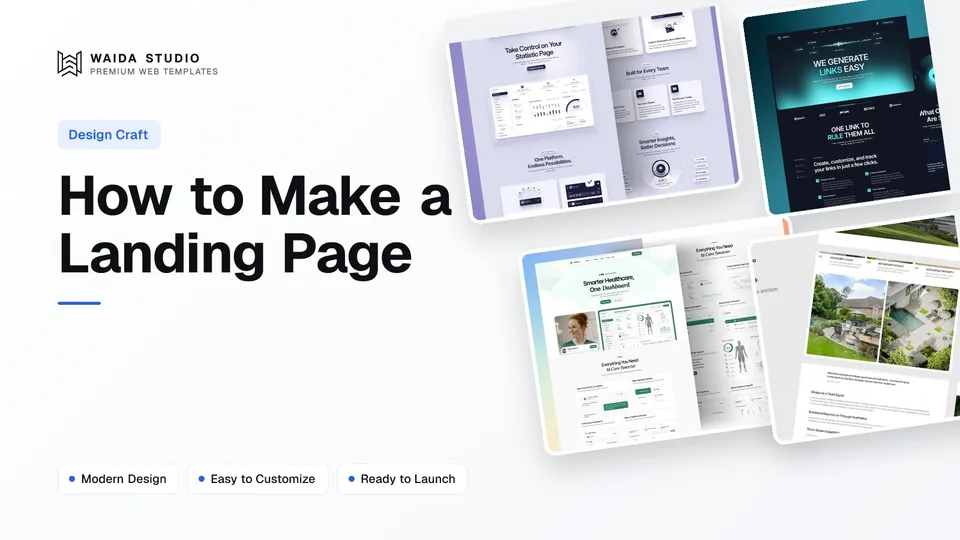
To make a landing page, decide the one action it asks for, write the copy before you design anything, pick a builder and start from a template, build the sections in a fixed order, connect and test the form on a phone, then publish on your own domain and measure. Starting from a template means most of the work is in the decisions, not the build.
This guide covers the steps in order, with what each costs on Framer, Webflow and code. For the design reasoning behind each section, the companion guide on landing page design goes deeper, and 20 real landing page examples show the finished result on live sites.
Step 1: Decide the One Action the Page Asks For
A landing page asks for one thing: a signup, a demo call, a download, a purchase or a waitlist email. Write that action down in one sentence before anything else, along with where the visitors will come from, because the traffic source decides how much explaining the page has to do.
Someone clicking a search ad for a specific feature already knows what they want, so the page can ask for the trial near the top. Someone arriving from a cold email knows nothing about you yet and needs the problem, the proof and the offer before the ask makes sense. If you have two audiences with different questions, make two pages rather than one page that answers both badly.
Traffic source | What the visitor already knows | What the page should ask for |
|---|---|---|
Search ad for a feature | The problem and roughly what solves it | Start a trial or buy, near the top |
Social post or shared link | Your name, maybe one claim | Join a waitlist or book a short call |
Cold email or outbound | Almost nothing | A reply or a demo, after proof |
Product launch or newsletter | Who you are and that it's new | Early access or a launch offer |
Step 2: Write the Copy Before You Open a Builder
Write every line of the page in a plain document first: the headline, a sub-headline, three to five benefits, the proof you have, the offer, the objections and the button label. Design decisions are easy once the words exist; a template filled with placeholder text hides the fact that you haven't decided what the page says.
- Headline: who it's for and what changes for them, in under twelve words.
- Sub-headline: how it works, or the one detail that makes the headline believable.
- Benefits: each one a result the visitor gets, with the feature that delivers it underneath.
- Proof: client logos you're allowed to show, a real review, or a specific result you can back up. Leave the section out rather than invent any of it.
- Objections: the three questions that stop people clicking, answered in an FAQ.
- Button label: the action itself ("Start free trial", "Book a 20-minute call"), not "Submit".
Read the headline and button label on their own. If together they don't tell a stranger what the page offers and what happens on click, rewrite them before moving on.
Step 3: Choose a Builder and Start From a Template
Pick the builder you or your team can edit without help, then start from a template rather than a blank canvas. Framer suits designers who want visual control, Webflow suits teams that want more structure and a CMS, and plain code suits developers who want to host it anywhere. The prices below were taken from each pricing page today.
Route | How a template arrives | Free to publish? | Your own domain |
|---|---|---|---|
Framer | A remix link that copies the project into your workspace | Yes, on a free Framer domain; Framer calls the Free plan "ideal for non-commercial use" | Paid plan, from $10 a month (Basic) on yearly billing |
Webflow | A clone link that copies the site into your Webflow account | Yes, on a webflow.io address, 2 static pages and 50 form submissions | Basic plan, $15 a month billed yearly |
HTML, Next.js or Astro | A source zip you edit and deploy yourself | Depends on your host | Set up at your host |
Framer's pricing page says a custom domain needs a paid plan, and its Pro plan ($30 a month) adds site redirects, a staging environment and an A/B testing add-on. Webflow's pricing page lists unlimited form submissions from Basic up. Framer's own lesson on creating remix links explains that a remix adds a duplicate to your workspace without access to the source project, which is why a remixed template is yours to change freely.
If you are still choosing between the two no-code builders, the Webflow vs Framer comparison sets out the differences in editing, CMS and hosting.
Step 4: Build the Sections in This Order
Build the page top to bottom in the order a visitor reads it, and delete every template section your copy document doesn't fill. An empty-but-pretty section tells the visitor you had nothing to say there. A short page with six honest sections beats a long one padded to match the template.
Order | Section | What goes in it |
|---|---|---|
1 | Hero | Headline, sub-headline, the button, and a real screenshot or photo of the result |
2 | Proof strip | Logos or one short review, directly under the hero |
3 | Benefits | Three to five results, each with the feature that delivers it |
4 | How it works | Three steps from signing up to getting the result |
5 | Offer or pricing | What they get, what it costs, and what happens after they click |
6 | FAQ | The objections from your copy document, answered in two sentences each |
7 | Final call to action | The same button and label as the hero, repeated |
Keep the navigation to a logo and, at most, one link back to your main site. Every extra menu item is a way off the page that isn't the action you want. Change the template's colours and fonts last, once the structure works; swapping a palette is five minutes of work, and doing it first tends to hide structural problems.
Step 5: Connect the Form, Then Test It on a Phone
Connect the form or checkout before you style it, submit a real test entry, and confirm it lands where someone will actually read it. A landing page whose form quietly goes nowhere is the most common failure, and it only shows up as "no leads" weeks later.
In Framer, the Form Builder sits in the Insert menu, and Framer's lesson on creating your first form tells you to set the destination on the form, then publish and submit a test entry. In Webflow, the free Starter plan caps a site at 50 form submissions, which is enough for testing and not for a campaign. On a code template, the form needs a handler: your own endpoint or a form service your host supports.
Then open the published page on an actual phone, on mobile data rather than office wi-fi, and check:
- the headline and button are visible without scrolling,
- the form fields are large enough to tap and the keyboard doesn't cover the button,
- the thank-you state or page says what happens next,
- the main image loads quickly. Google's web.dev guide sets a good Largest Contentful Paint at 2.5 seconds or less, measured at the 75th percentile of page loads.
You can check that last point with PageSpeed Insights, which reports Largest Contentful Paint for mobile and desktop separately.
Step 6: Publish, Measure and Change One Thing at a Time
Publish on your own domain, add UTM parameters to every link you share so you can tell sources apart, and wait for enough visits before judging the page. Then change one element at a time, starting with the headline, so you know which change moved the number.
The order that usually pays off is headline, then the button label and its position, then the proof next to the button, then the number of form fields. Redesigning the whole page at once resets everything you learned. If your builder offers A/B testing, as Framer's Pro plan does as a paid add-on, test the headline first.
Waida Templates Built as Landing Pages
Disclosure: Waida Studio makes these templates, and they are our own picks. Each is a SaaS template, so you start from sections close to the Step 4 list and delete whatever your copy doesn't fill. All three are free on Framer with a free Waida account.
Virion, for a SaaS product launch

Virion is a 12-page template for SaaS startups, designed to show a product off clearly. It is free on Framer with a free account, $59 on Webflow, $39 as HTML and $49 for Next.js or Astro.
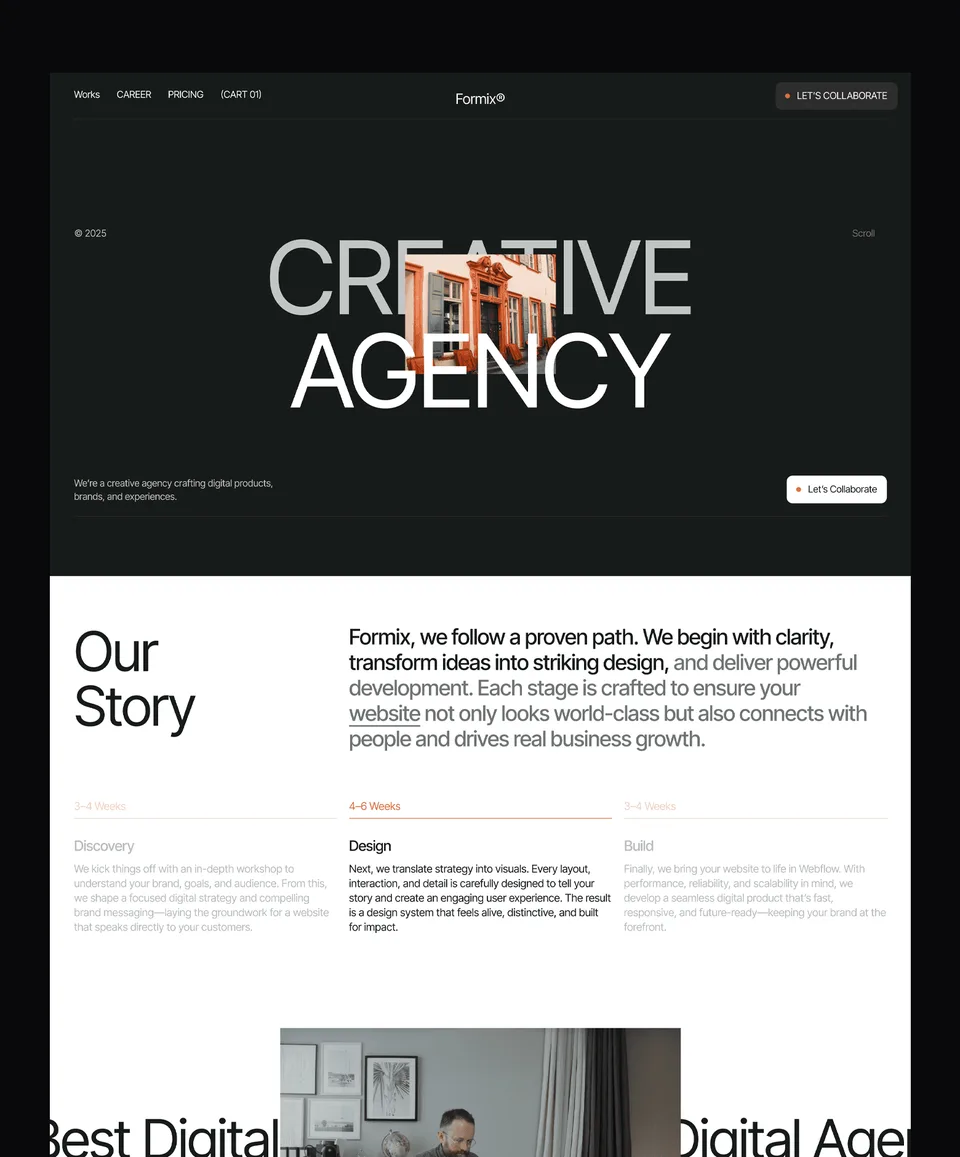
Lenkrio, for an AI product

Lenkrio is a 12-page template for AI startups and SaaS companies, built around a feature showcase. It is free on Framer with a free account, $39 as HTML and $49 for Next.js or Astro.
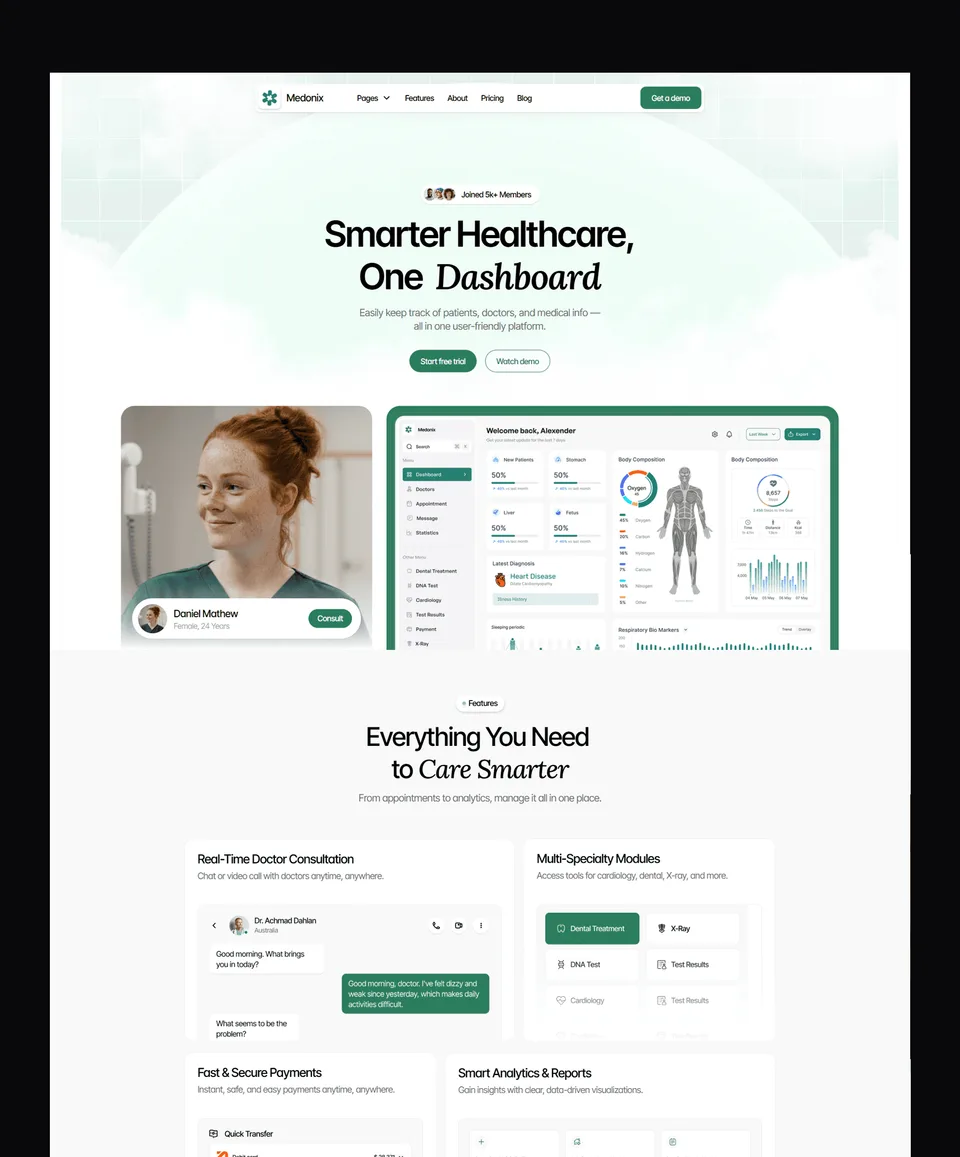
Medonix, free on every platform

Medonix is a 13-page medical SaaS template, and one of two Waida templates that are free on every platform with a free account: Framer, Webflow, HTML, Next.js and Astro, with its Figma file included. It is the cheapest way to try the whole process above on the builder of your choice.
The full set is in the SaaS website templates category. If you are building in code, the best Next.js landing page templates list compares options beyond Waida's.
Templates to start from
All 40 templates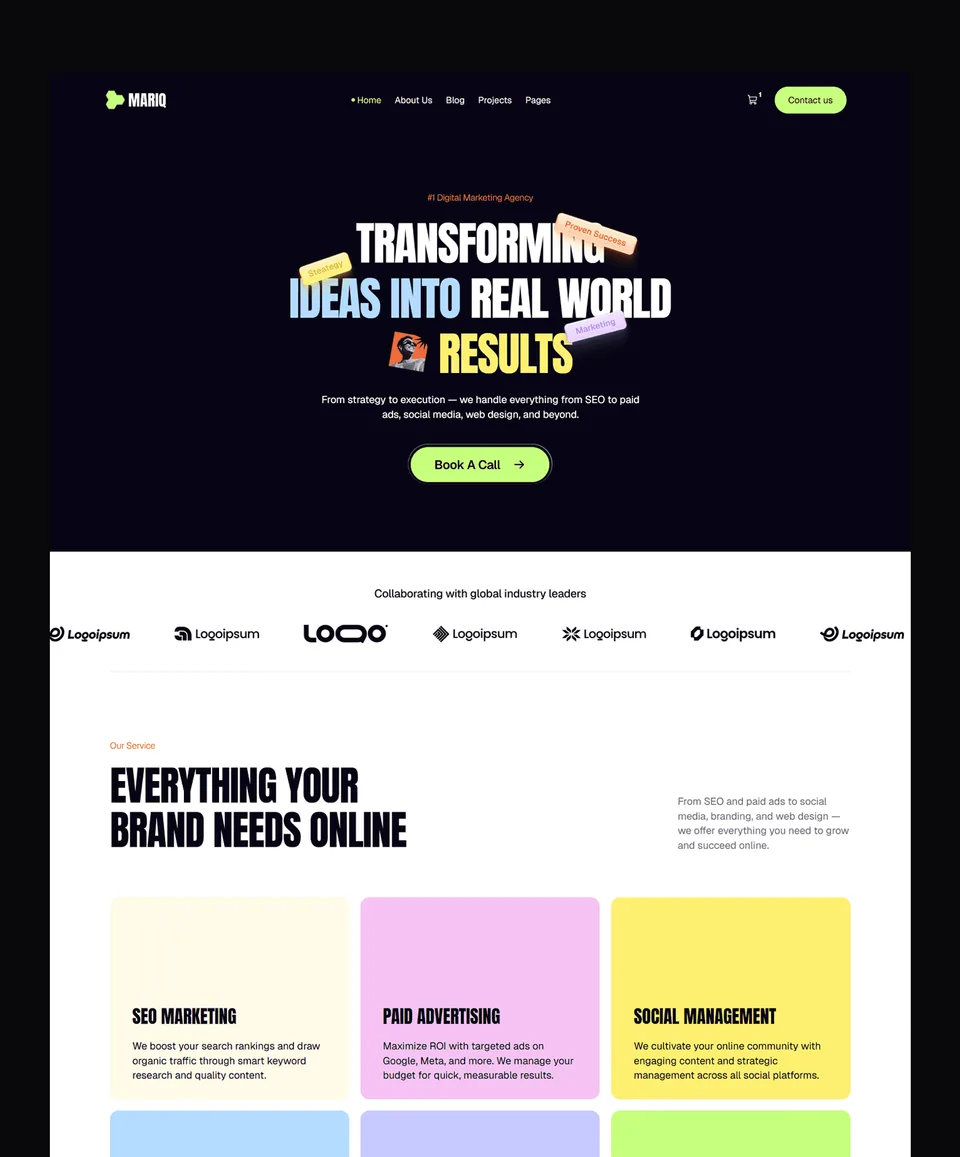


Frequently asked questions
How long does it take to make a landing page?
It depends mostly on the copy. Starting from a template, the build is the quick part; writing the words and gathering real proof usually takes longer than placing them on the page.
Can I make a landing page for free?
Yes. Framer and Webflow both let you publish free on their own subdomains, and several Waida templates are free with a free account. A custom domain needs a paid plan on Framer and Webflow.
What should a landing page include?
A hero with a clear headline and one button, proof directly under it, three to five benefits, a short how-it-works section, the offer, an FAQ that answers objections, and the same call to action repeated at the end.
Should a landing page have a navigation menu?
Keep it to a logo and at most one link back to your main site. Every extra menu link gives visitors a way to leave without taking the one action the page exists for.
What is the difference between a landing page and a homepage?
A homepage serves every visitor and links to everything on the site. A landing page serves one audience from one traffic source and asks for one action, so it leaves out anything that doesn't support that action.
Do I need a developer to make a landing page?
No. Framer and Webflow let you edit and publish a template visually without code. You only need a developer if you choose an HTML, Next.js or Astro template and want it hosted and connected to a form handler.
Making a landing page is mostly decisions made before the builder opens: one action, one audience, and copy that is finished. The build itself is quickest from a template on the platform you already know, whether that's one of the Framer templates, the Webflow templates or the HTML templates.
On Waida, 20 Framer templates are free with a free account; paid templates are $39 as HTML, $49 for Next.js or Astro, and $59 to $129 on Webflow, with plans and bundles on the pricing page. Every licence covers unlimited personal, commercial and client projects under the licence terms. If you'd rather hand over the copy and have the page set up for you, template customisation is $499 with 7-day delivery.

More from Kazi
Related articles
More in Design Craft
Landing Page Examples: 20 Real Pages and What They Get Right
Twenty real landing pages, checked live today and grouped by the job they do best, with the one idea worth copying from each.
How to Design a Portfolio Website: What Works in 2026
A practical guide to designing a portfolio website: who it is for, the pages it needs, how to write case studies and how to make contact easy.
Services Landing Page Design: What Converts in 2026
A practical guide to designing a landing page for a service business: sections, proof, one CTA, and four Waida templates built for it.